
Configuring Watermark for Windows VDI
- Barry Ling
- Mar 31, 2022
- 1 min read
Updated: Jan 16, 2024
Watermark is now officially supported on Horizon 8. IT admin can configure the watermark by their need. Sometime it is difficult to prevent user taking screen capture by additional device like camera. Making the leakage traceable is also a way to prevent data leakage. Watermark can serve the purpose very well.
To enable watermark on a Windows VDI, a Horizon specific GPO is required. This GPO is included within the Horizon Bundled ADMX. You can download it from your VMware download website.
The first step to make this happen is importing Horizon Bundled ADMX template to the AD. You may refer following post of how to doing so.
After that, you can actually creating such GPO.
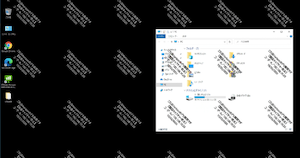
Open Group Policy Management of the Domain.

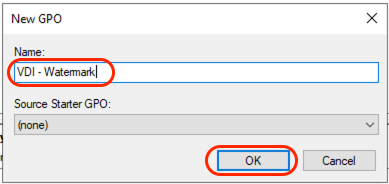
Create a new GPO and assign a name for it.
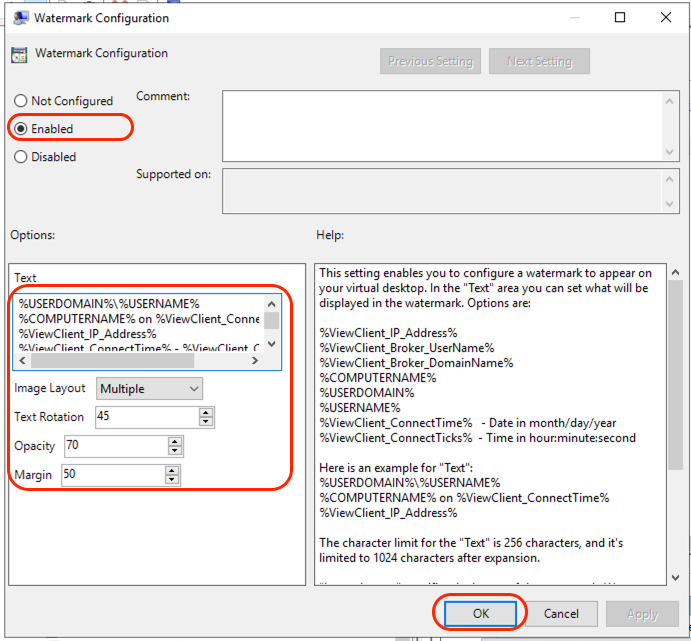
Navigate to "User Configuration" -> "Policies" -> "Administrative Template" -> "VMware View Agent Configuration" -> "Watermark". And you will find the Watermark Configuration there. You can double click to edit it.

Select "Enable" to enable the feature.
You can configure the text of the watermark. Configurable items can be found in the help box.
My example below will display user name / Computer name / IP / Connection time on the VDI screen.
%USERDOMAIN%\%USERNAME%
%COMPUTERNAME%
%ViewClient_IP_Address%
%ViewClient_ConnectTime% -
%ViewClient_ConnectTicks%
You can also adjust image layout and corresponding setting with this GPO.
Once completed, you will need to assign this GPO to corresponding OU. Please be reminded this GPO is User Configuration. You have to assign it to the OU where the target USER ACCOUNTS sitting.
Besides applying GPO with AD, Horiozn does have an alternative option by using DEM. You may refer the procedures on another blog:
----- END -----
Comments