
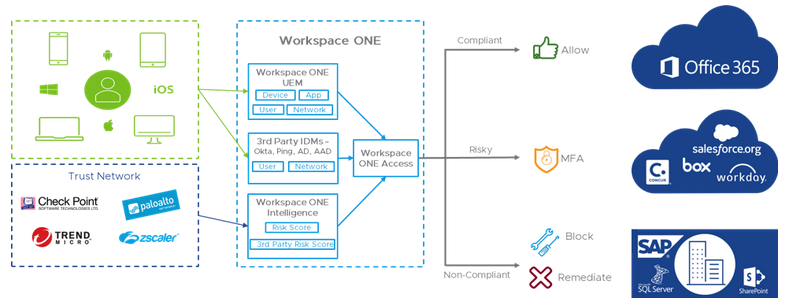
Workspace One Access (WSO Access) is one of the core components of VMware EUC solution. It also places a key role in Horizon. If you planning to integrate the Horizon with latest modern authentication (e.g. Google authenticator) for user logon, WSO Access will be the key component to achieve it.
This blog will walk you through how to deploy and integrate your local AD domain with WSO Access SaaS. And we will talk about how to integrate the Horizon and enable modern authentication on another post.
It is assumsed you already have your WSO Access SaaS platform subscripted and ready. We will go through the procedures of deploying an onsite connector and AD integration. The deployment involves following steps.
1. Download the WSO Access Connector Config File
Even this post is focus on integratiion with WSO Access SaaS version. But the procedures are applicable on integration with on-premises WSO Access. The only different is you have to deploy an on-premises WSO Access in such case.
So here I assume you have your WSO Access subscription ready and you can login to WSO Access SaaS admin console.
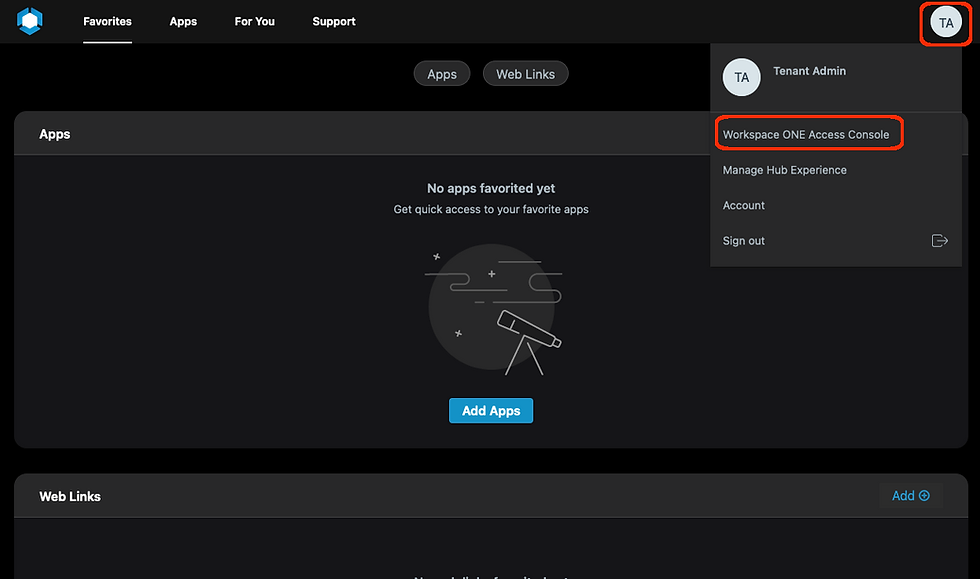
Logon the WSO Access console with admin account. Click the account icon on the top right corner. Click "Workspace One Access Console".
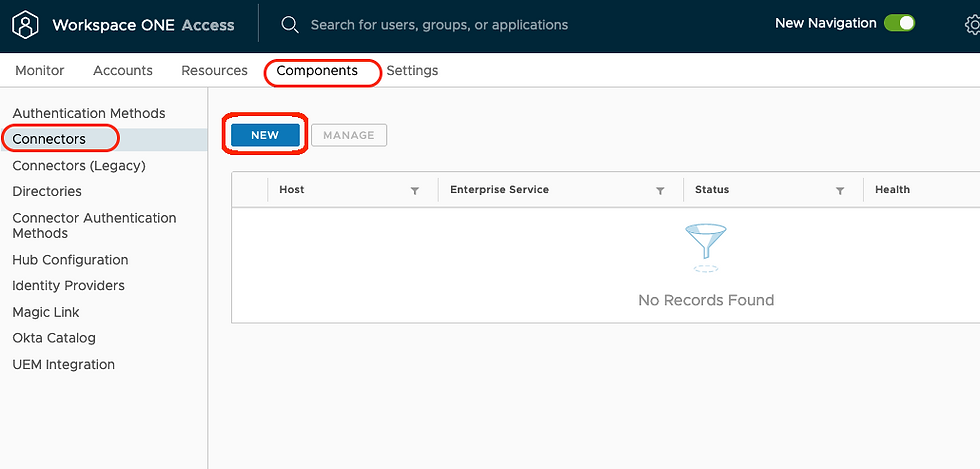
Click "Components" and select "Connectors". Click "New" button.
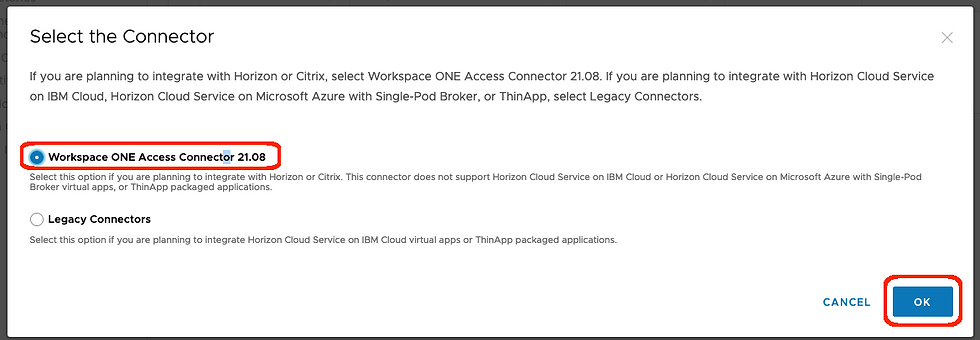
Select "Workspace One Access Connector 21.08". Click "OK".
Click "Proceed Anyway".

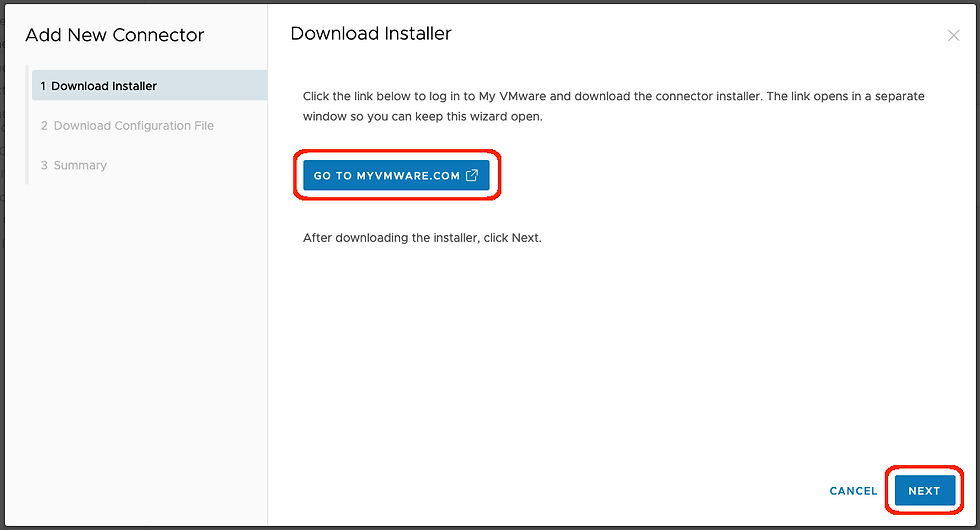
Click "Go to myvmware.com" button. Login to your VMware download site and download the WSO Access connector exe file.
Click "Next" after you ready the connector setup execute
Setup a configuration password.
Click "Download configuration file" button. Save the configuration file for later use.
Click "Next".

Click "Close" to complete.

2. Setup an Onsite WSO Access Connector
Once you have your Connector setup exe and configuration file ready, you can run the setup now. The WSO Access Connector will require an Windows machine to run. You will need to prepare a Window Server VM for the purpose.
Join the Windows server to Active Directory.
Logon to the Windows Server prepared for WSO Access Connector.
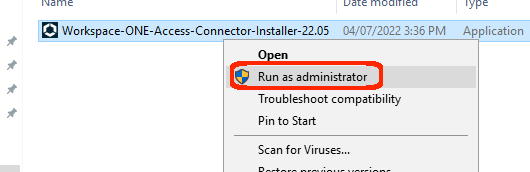
Run the WSO Access Connector execute file downloaded.
Click "Install" to install corresponding prerequisites components.

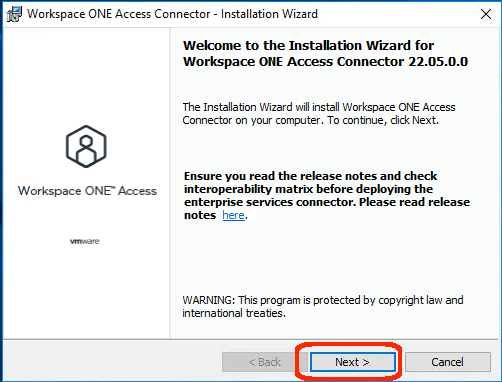
Click "Next".
Click "Yes".

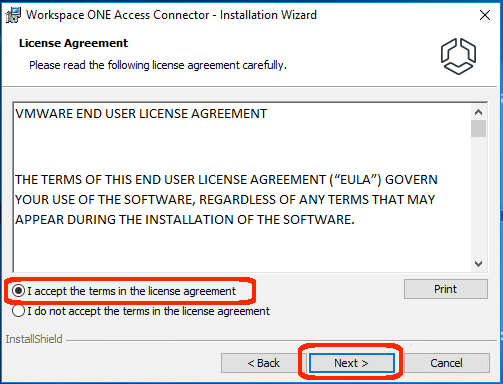
Check "I accept the therms in the license agreement".
Click "Next".
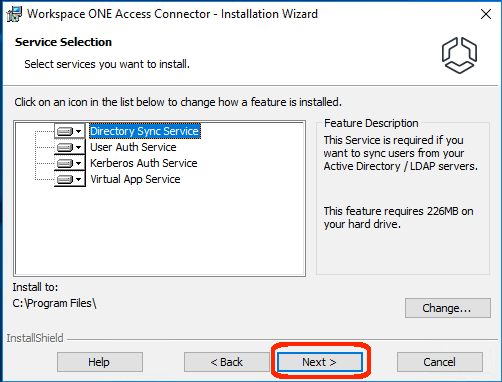
Make sure all options are selected.
Click "Next".
Browse and selsct the configuration file created on pervious step.
Input the password of the configuration file.
Click "Next".

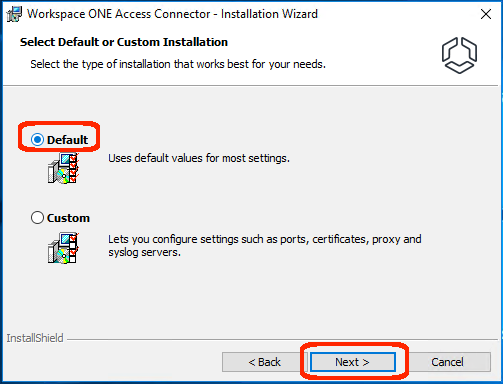
Select "Default" and cliekc "Next".
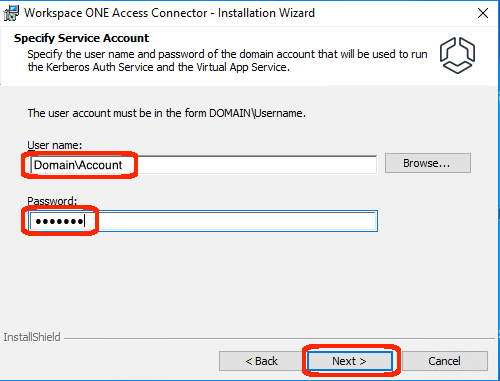
Provide the credential of the service account.
The account should have the right to query the Active Directory.
Click "Next".
*** This service account must have "Log on as a service" right on the connector server.
*** This service account must have the right to “Create, delete, and manage user accounts” in Active Directory too. (members of Admin Users and Account Operators groups have those rights)
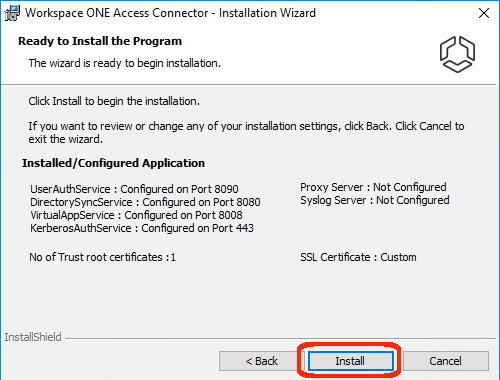
Make sure all settings are correct.
Click "Install".
Wait for the installation to complete.
Login the Workspace One Access Admin UI.
Nevigate to "Integrations" -> "Connectors".
And you will find the Connector is connected to the Workspace One Access.

3. Configure AD Directory Synchronization
Until now, the Connector is installed and connected to the Workspace One Access. The last step will be integrating your AD to the Workspace One Access.
Logon to the WSO Access Admin UI.
Nevigate to "Integrations" -> "Directories".
Click "Add Directory".
Select "Active Directory".

Input the disply name.
Select "Active Directory over LDAP".

Select the Connector configured with pervious procedures.
Leave all setting as default.
Provie the user account information and password for domain bind.
Click "Save & Configure".

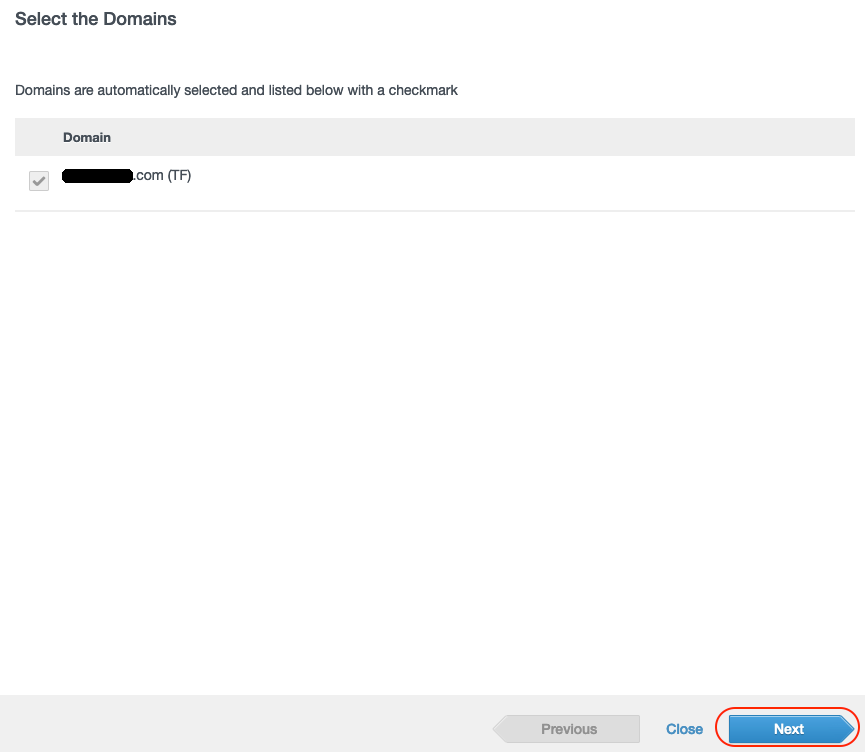
The Domain Name of your AD will be displayed.
Click "Next".
Click "Next".

You can select specific AD OU to syc groups from.
Click "+",
Provide all LDAP paths you want to sync.
Click "Next".

You can also select specific AD OU to syc users from.
Click "+",
Provide all LDAP paths you want to sync.
Click "Next".

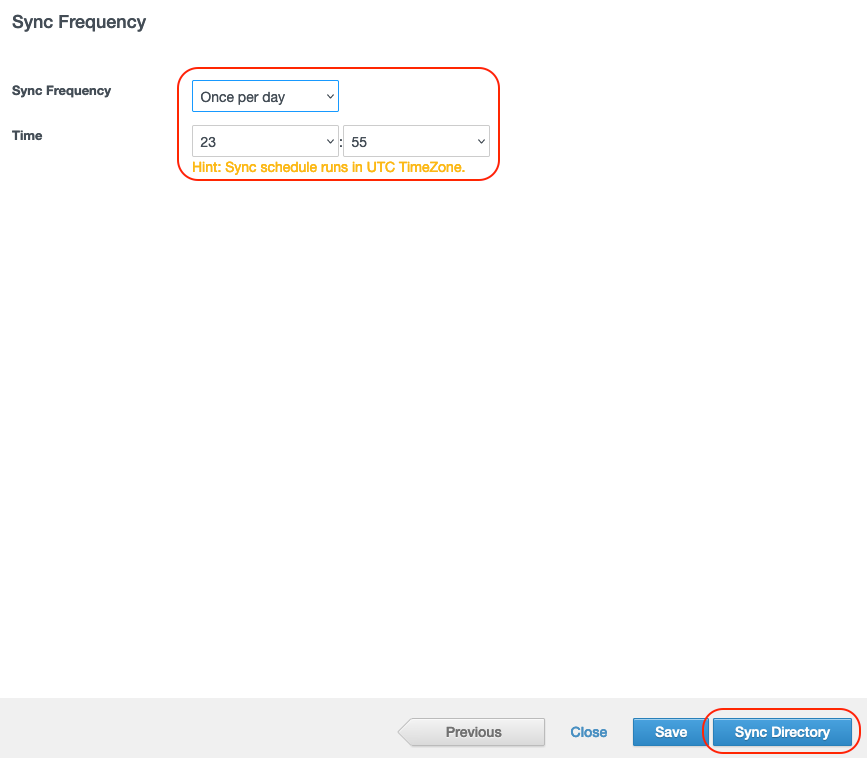
Configure the synchronization interval.
Click "Sync Directory".
You will see a new Directory Sync appears on the Admin page.
You may overlap your mouse pointer to the Directory Name and will see the Sync is started.
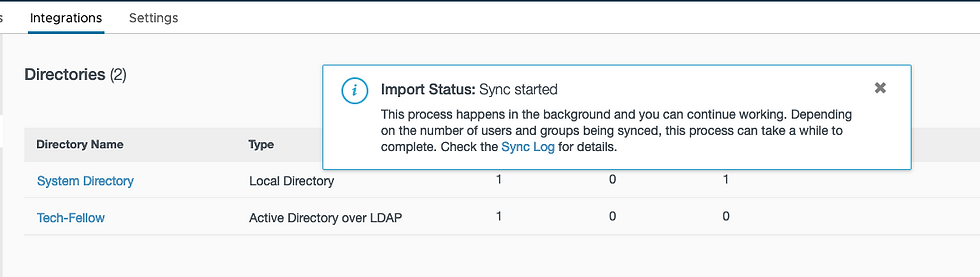
Wait until the syc completed.

Nevigate to "Integrations" -> "Identity Providers".
Click "Built-In".

Select the newly craeted Directory.
Check the box next to the Password Authentic Methods.
Select "All Ranges" in Network.
Click "Save".

Everything done.
You may log out the Workspace One Access and login again.
You will find your AD is available for selection from the pull down list.
Now you can login the Workspace One Access with your own AD accounts.

----- END -----
Hi ,Barry Ling
Why is the connector unable to connect to workspace one access, VMware Directory Sync service、User Auth Service、Virtual App service unable running