
Horizon 8 and vRealize Operation Manager (vRops)
- Barry Ling

- Aug 24, 2021
- 3 min read
Updated: Mar 13, 2022

Starting from Horizon 8, the previous Horizon Adapter for vRops (V4H) is no longer supported. Instead, a new component named Management Pack for Horizon (MP4H) is available for providing monitoring ability on Horizon with vRops.
To utilize the MP4H, an instance of vRops is required. This document will utilize vRops 8.5 and MP4H 1.2.1 as an example to work through the setup and configuration procedure.
Session 1 - Deploying vRops Appliance
To deploy the vRops appliance, what you need to start with is setting up the appliance on vCenter. Please login to the vCenter with appropriate admin right. Navigate to the resources group you want. Right click an select "Deploy OVF Template.

Click "Upload Files" and select the vRops OVF files. Click "Next".

Input the VM name and select corresponding location to put the vRops appliance. Click "Next".

Select corresponding destination and click "Next".

Review the setting and click "Next" if no problem.

Check "I accept all license agreement and click "Next".

Select the corresponding configuration base on how many VM you are going to monitor. Click "Next".

Select corresponding datastore and click "Next".

Select corresponding network and click "Next".

Input corresponding IP and domain information. Click "Next".


Review is all setting good and click "Next".

Power on the vRops appliance after deployment.

Session 2 - Initial configuration on vRops Appliance
After the vRops appliance deployment. What you next to do is doing the initial configuration. Please access the vRops admin URL .
You will have the initial setup procedure shown. Click "New Installation".

Click "Next".

Setup a password for admin account. Click "Next".

You may install your own 3rd party certificate for the vRops appliance if needed. Please be reminded that the certificate must in PEM formation with the private key in it.
To do so, select "Install a certificate". Click "Browse" to access the certificate from your local drive. Click "Verify" to make sure the certificate is OK to use.
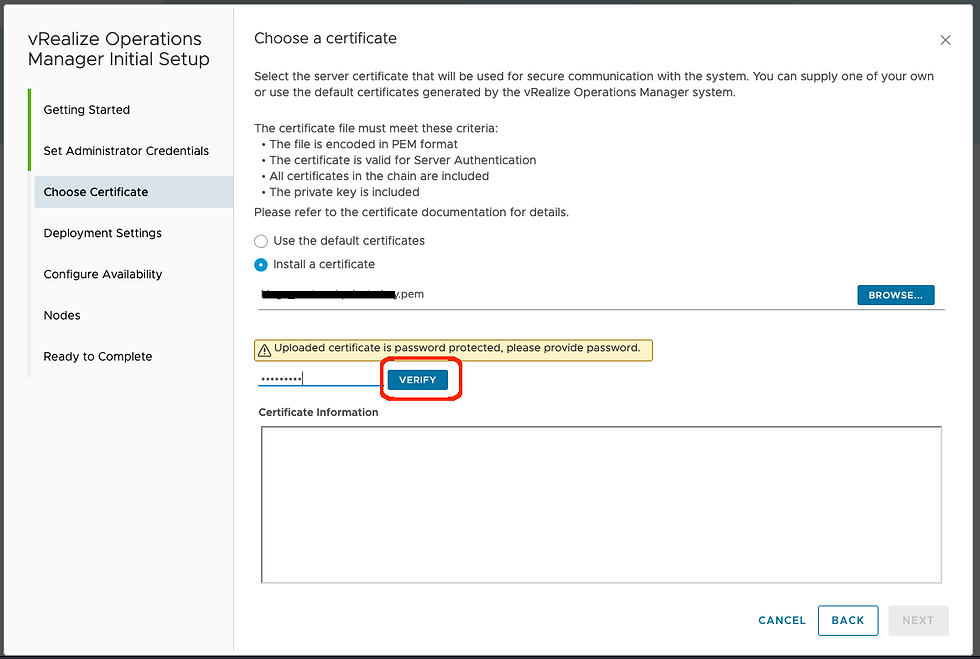
The verify process will return OK if the certificate is fine. Click :Next".

Setup a name for the vRops appliance. Input the NTP server named if applicable. Click "Next".

You may also setup HA for the vRops here. But since this is a lab setup and HA is not applicable in this setup, the procedure is skipped and click "Next".

Click "Next".

Click "Finish".

You will have the admin page ready after above procedures. You may see the vRops Cluster under configuration. Please wait until complete.

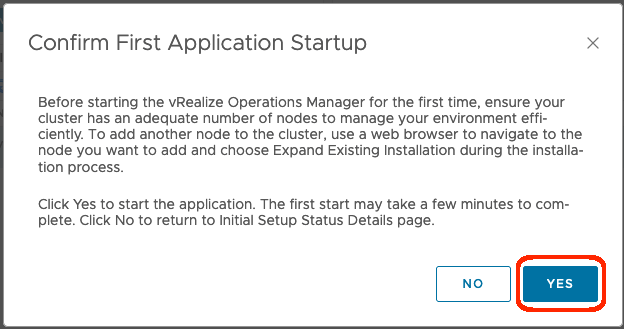
After a while, you may see the button available. Click the "Start vREALIZE OPERATION MANAGER".

Click "Yes" to confirm.
The admin page will be logged off automatically after clicked "Yes". Please access the admin URL again and continue the setup.
The status will show "Cluster Initial Installation in progress". Please wait for a while.

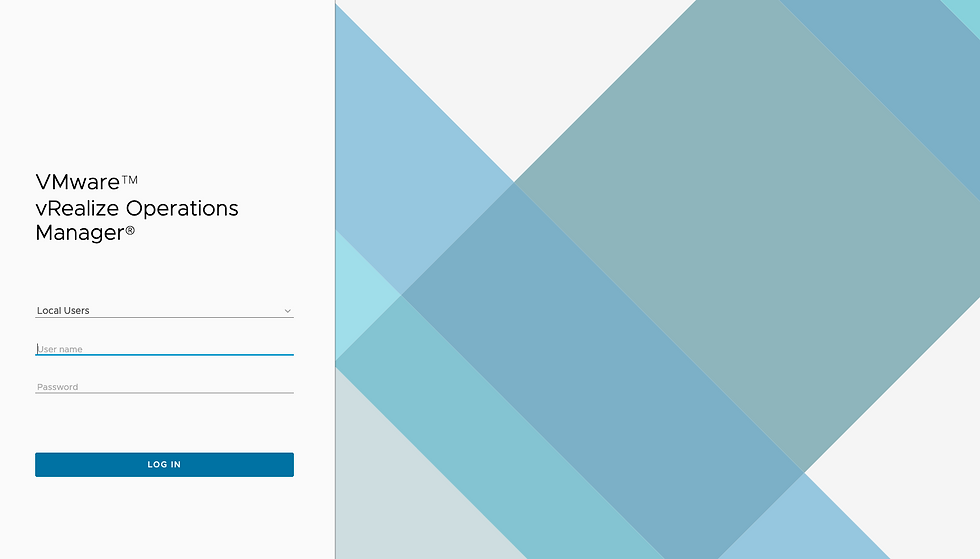
It will be redirected to login page automatically after the initial installation completed. Please login with the admin account created with above procedures.
A new configuration wizard will be launched. Click "Next".

Check "I accept the terms of this agreement" and click "Next".

Input the vRops license key and click "Next".

Select "Join the CEIP" and click "Next".

Click "Finish" to complete the initial setup.

Please login access the adminURL and login with admin account again. A welcome page will be shown, click "Add Cloud Account" button.

Click the "Add Account" Button.

Click the "vCenter" icon.

Input a naming for this setting into "Name" filed.
Input the vCenter DNS name into the "vCenter Server" field.
Click the "+" button to add vCenter credential.

Input the vCenter admin account and password. Click "OK".

Click "Validate Connection" to validate if any issue connecting to vCenter.

Click "Accept" if prompting certificate warning.

Click "OK" if no any issue connecting to vCenter.

Click "Add" to complete the procedure.

The setting should be running with "OK".

Session 3 - Install the MP4H and configuration
After the vRops installation, the next step will be installing the MP4H and corresponding configuration.
The MP4H package file (1.2.1) will be available on VMware marketplace at following link. Please download it before continue. The MP4H does not sell standalone. It is licensed with vRops. You will need a licensed vRops instance to run the management pack.
Please login the vRops admin URL. Click "Administrator" tab -> "Repository" -> "Add/Upgrade".

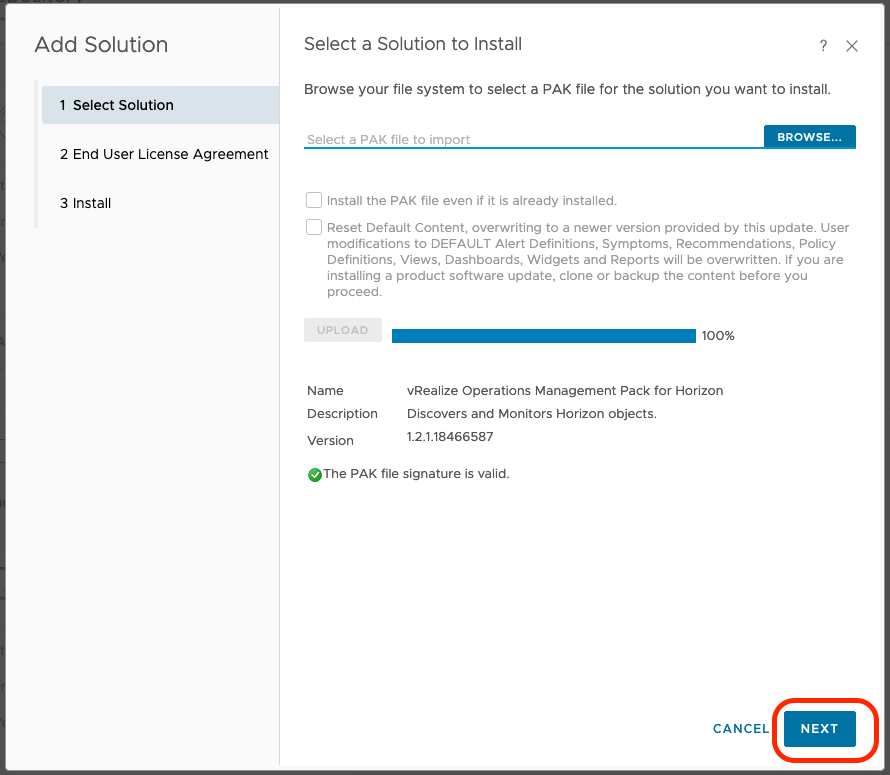
Click "Browse" to access the MP4H package on your local drive. Click "Upload".

Click "Next".
Check "I accept the terms of this agreement" and click "Next".

Click "Finish" to complete the installation.

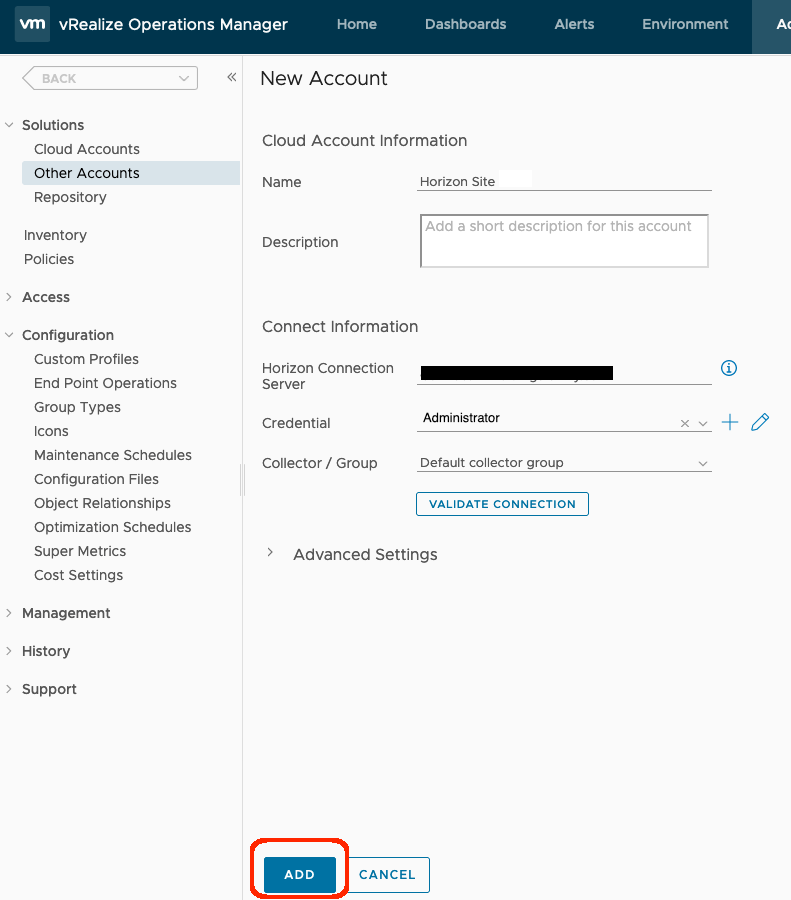
Go to the Repository page again. And you will find the MP4H available at the bottom of the page. Click "Add account".

In the "Name" field, make a name for this setting.
Input the connection server DNS name in the "Horizon Connection Server" field.
Click the "+" button.

Input the user account name and password with admin right on Horizon platform. click "OK".

Click "Validate Connection" to make sure the account has appropriate right.

Click "Accept" to accept the certificate of the connection server.

Click "OK" if checking is passed.

Click "Add".
Go to "Administrator" tab -> "Other Accounts" page.
Wait for a while until the Horizon account show "OK".

And now the vRops will start collecting information from Horizon and displayed through different Dashboard.
-------------------------------- END ------------------------------------


Comments